How to | Minimal Microservice with Java (EE) and Docker
Microservices, Java and Docker is the way to go if we are building distributed systems. Exposing our services via REST interfaces is a good practice. Since a microservice should stay small and do one thing, keeping its dependencies, size and boundaries on a bare minimum assures a good performance and flexibility.
Content
- Setup (Maven)
- Our first Class aka Endpoint
- Configuration
- Run it! Yes, with Docker
- Returning an JSON Object
- Conclusion
01 Setup (Maven)
Create a new Maven Project in your favourite IDE. We will use a minimal set of dependencies to keep it real simple. My POM-File looks like this:
<?xml version="1.0" encoding="UTF-8"?>
<project xmlns="http://maven.apache.org/POM/4.0.0"
         xmlns:xsi="http://www.w3.org/2001/XMLSchema-instance"
         xsi:schemaLocation="http://maven.apache.org/POM/4.0.0 http://maven.apache.org/xsd/maven-4.0.0.xsd">
    <modelVersion>4.0.0</modelVersion>

    <groupId>com.mentsik.blog</groupId>
    <artifactId>jmss</artifactId>
    <version>1.0-SNAPSHOT</version>
    <packaging>war</packaging>

    <build>
        <finalName>jmss</finalName>
    </build>

    <dependencies>
        <!-- https://mvnrepository.com/artifact/javax/javaee-api -->
        <dependency>
            <groupId>javax</groupId>
            <artifactId>javaee-api</artifactId>
            <version>7.0</version>
            <scope>provided</scope>
        </dependency>
    </dependencies>

    <properties>
        <maven.compiler.source>1.8</maven.compiler.source>
        <maven.compiler.target>1.8</maven.compiler.target>
        <failOnMissingWebXml>false</failOnMissingWebXml>
    </properties>

</project>
As you can see our only dependency is javaee-api. Maybe you also noticed that the <scope>provided</scope>, which means that this dependency is provided by the environment our application is running in.
Since we will run this application in an application server (WildFly, Tomcat, Payara, …) this is absolutely the case! This leads to a size of our WAR of 5KB.
We want to package our application as WAR and don’t want to configure it via a web.xml, since we are using the java way to configure it.
02 Our first Class aka Endpoint
We are ready to create our first REST Endpoint that will echo back a message via GET.
Create a new Class in your project:
> Echo.java
import javax.ws.rs.GET;
import javax.ws.rs.Path;
import javax.ws.rs.PathParam;
import javax.ws.rs.Produces;
import javax.ws.rs.core.MediaType;
import javax.ws.rs.core.Response;

@Path("/echo")
public class Echo {
    @GET
    @Path("/{msg}")
    @Produces(MediaType.APPLICATION_JSON)
    public Response reply(@PathParam("msg") String msg){
        return Response.ok(msg).build();
    }
}
This enpoint (or resource if you wish) will be available via the url:
/echo/. Everything behind this URL will be returned to the browser. The method reply() will be executed when you call this URL via our browser. As we can see the {msg} in the second @Path annotation will be injected into the first parameter of the function.
The @Produces annotation is kind of useless for now because we just return a simple String. The browser will convert this to a JSON String (which is in fact just a string).
We want to test this already, so let’s go on…
03 Configuration
We have to configure our endpoint Classes. While this can be setup to be done automatically, I prefer to have control over this.
We will do this the Java way by creating a Configuration Class.
> JAXRSConfiguration.java
import com.mentsik.blog.jmss.endpoints.Echo;

import javax.ws.rs.ApplicationPath;
import javax.ws.rs.core.Application;
import java.util.HashSet;
import java.util.Set;

@ApplicationPath("/api")
public class JAXRSConfiguration extends Application {

    @Override
    public Set<Class<?>> getClasses() {
        Set<Class<?>> resources = new HashSet<Class<?>>();
        resources.add(Echo.class);
        return resources;

    }
}
Each additional endpoint class has to be added in this class.
04 Run it! Yes, with Docker
We really don’t want to mess with the configuration of an application server! So we will just throw our WAR in a a docker image. You can really take any application server here, I will pick the Wildfly base image.
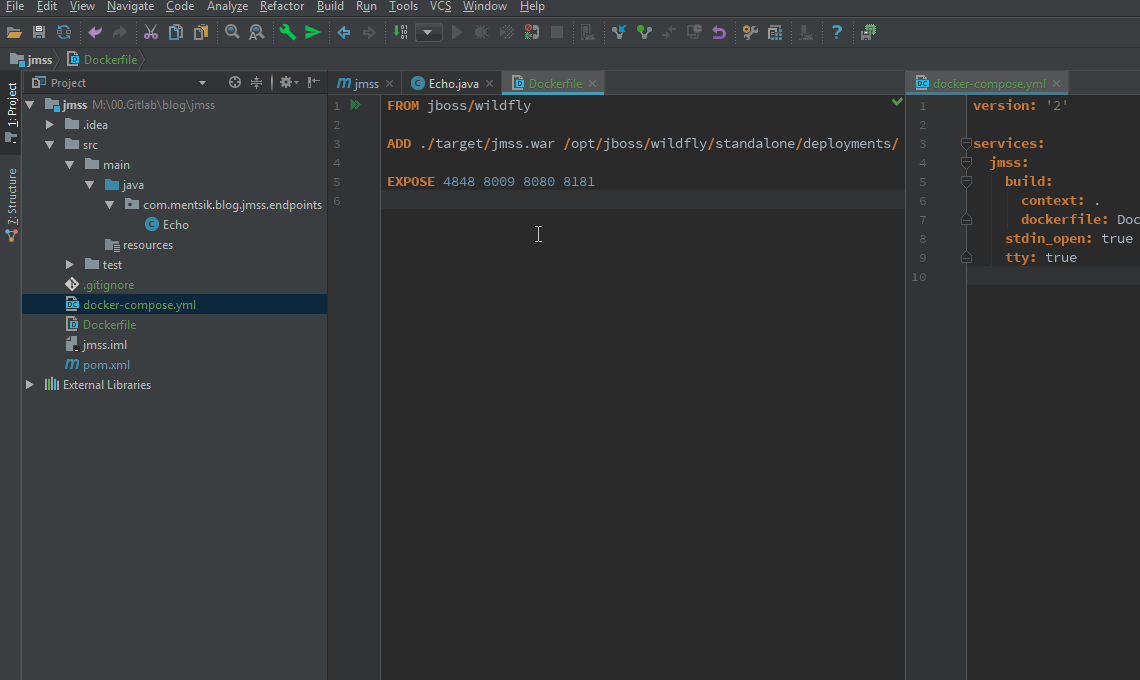
> Dockerfile
FROM jboss/wildfly

ADD ./target/jmss.war /opt/jboss/wildfly/standalone/deployments/

EXPOSE 8080
To even make it more simple to run, we will add a docker-compose file to run the whole thing, this way the configuration of the environment is present in a file that is included in the git versioning. This way everyone can just docker-compose up who clones our project. (And has docker + docker-compose installed)
> docker-compose.yml
version: '2'

services:
  jmss:
    build:
      context: .
      dockerfile: Dockerfile
    stdin_open: true
    tty: true
    ports:
      - 80:8080
We have to build our WAR first by running mvn clean install. Then we can launch our application with docker-compose up .
We can now navigate with our browser to our application, which will echo back a message:
http://localhost:80/jmss/api/echo/This%20is%20a%20Test
Will result in:
This is a Test
If you are using IntelliJ and have the Docker Plugin, you can create a Run-Configuration.
05 Returning a JSON Object
As mentioned above, the @Produces(MediaType.APPLICATION_JSON) annotation is kind of useless for this small example. But actually it does a lot of magic in combination with the Response Builder.
Let’s create a POJO:
> EchoReply.java
public class EchoReply {
    private String reply;

    public EchoReply(String msg) {
        this.reply = msg;
    }

    public String getReply() {
        return reply;
    }

    public void setReply(String reply) {
        this.reply = reply;
    }
}
and modify our reply() method a little bit:
 > EchoReply.java
    @GET
    @Path("/{msg}")
    @Produces(MediaType.APPLICATION_JSON)
    public Response reply(@PathParam("msg") String msg){
        EchoReply r = new EchoReply(msg);
        return Response.ok(r).build();
    }
After mvn clean install and docker-compose up we can again call the service with our browser. Instead of a simple string we will now get a valid JSON Object:
{"reply":"This is a Test"}
06 Conclusion
Creating a simple REST Microservice is really easy. Keep in mind that we have just one dependency, that is provided by the application server. The above WAR is just 5KB in size!
Checkout on Github
You can checkout this project on Github